News (click to select category)
Operating rules of automatic 200-ton pressure testing machine
Date:2026-08-21ID: 378Heat:
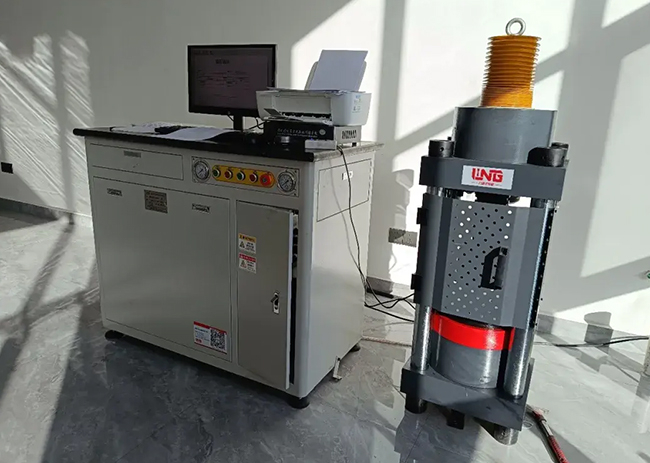
Operating rules of automatic pressure testing machine
1. Turn on the power supply, start and preheat for 2 minutes (if preheating is not needed in summer).
2. Open the experimental controller and computer operating software, and set the relevant number, area and age;
3. Put the test block into the fixture or the center of the platen;
4. Adjust the corresponding speed of the software, so that after the upper platen approaches the test block, it will be cleared quickly;
5. Click Run to conduct the experiment; You can choose a single experiment or a continuous experiment.
6. After the test, choose to stop and wait for the oil cylinder to fall back;
7. Print and record the test data! (Click the query result and select the current test number)
8. Continue the experiment and repeat 2-8 times;
9. After the test, turn off the software and turn off the computer and equipment host!
Operation test
1. Turn on the power switch of the testing machine and start the testing machine;
2. Clamp the sample on the sample fixture or workbench of the testing machine;
3. Click the Run button on the control button to run the test;
4. After running, the piston of the testing machine starts to rise, and click the reset button on the load display bar to reset the load;
Description: Correct clearing of load is an important guarantee for the accuracy of experimental results.
Observe the test process
1. After the test is compressed, the system enters the force closed-loop control state, and the status bar shows "Currently the system is running";
2. The value display column displays the loading process data; The loading graph shows the loading process curve;
3. After the sample is broken, the system automatically judges and the testing machine is unloaded; The test results are displayed in the test results area;
Note: If there is any abnormality during the test, please immediately click the stop button in the control button area to end the test or press the power switch of the testing machine to turn off the motor of the testing machine; Click the reset button in the control button area to confirm the valve port reset before starting normal operation.
Complete the test
1. After the sample is broken, the test result is displayed in the result display column, and the single sample test is finished;
2. In the case of single test loading mode, continue to follow steps 2-3 in the operation test until all test blocks are finished;
3. In the case of continuous test loading mode, the tester only needs to clamp the sample within the delayed loading time after unloading, and the system automatically runs the test to the number of sample blocks set in the test;
4. After a group of tests, the detailed test data and final results are displayed in the test result display area;
Query and print
Query Click the Report button on the toolbar to enter the report printing dialog box, select the searched experiment, search items and search contents as required, click the query, and then click the experiment to be printed in the query result box.
Header Settings Click the Header Settings button in the report printing dialog box to open the Print Header Settings dialog box and set the header of the printed report.
Print Settings Click the print settings button in the report printing dialog box to open the print settings box and set the output device for report printing.
View the detailed test results Double-click the test data in the query results to open the detailed test data records corresponding to the test results, and users can view and manually correct some of the data.
Print and Preview Click to preview and print the report of the test results.
1. Turn on the power supply, start and preheat for 2 minutes (if preheating is not needed in summer).
2. Open the experimental controller and computer operating software, and set the relevant number, area and age;
3. Put the test block into the fixture or the center of the platen;
4. Adjust the corresponding speed of the software, so that after the upper platen approaches the test block, it will be cleared quickly;
5. Click Run to conduct the experiment; You can choose a single experiment or a continuous experiment.
6. After the test, choose to stop and wait for the oil cylinder to fall back;
7. Print and record the test data! (Click the query result and select the current test number)
8. Continue the experiment and repeat 2-8 times;
9. After the test, turn off the software and turn off the computer and equipment host!
Operation test
1. Turn on the power switch of the testing machine and start the testing machine;
2. Clamp the sample on the sample fixture or workbench of the testing machine;
3. Click the Run button on the control button to run the test;
4. After running, the piston of the testing machine starts to rise, and click the reset button on the load display bar to reset the load;
Description: Correct clearing of load is an important guarantee for the accuracy of experimental results.
Observe the test process
1. After the test is compressed, the system enters the force closed-loop control state, and the status bar shows "Currently the system is running";
2. The value display column displays the loading process data; The loading graph shows the loading process curve;
3. After the sample is broken, the system automatically judges and the testing machine is unloaded; The test results are displayed in the test results area;
Note: If there is any abnormality during the test, please immediately click the stop button in the control button area to end the test or press the power switch of the testing machine to turn off the motor of the testing machine; Click the reset button in the control button area to confirm the valve port reset before starting normal operation.
Complete the test
1. After the sample is broken, the test result is displayed in the result display column, and the single sample test is finished;
2. In the case of single test loading mode, continue to follow steps 2-3 in the operation test until all test blocks are finished;
3. In the case of continuous test loading mode, the tester only needs to clamp the sample within the delayed loading time after unloading, and the system automatically runs the test to the number of sample blocks set in the test;
4. After a group of tests, the detailed test data and final results are displayed in the test result display area;
Query and print
Query Click the Report button on the toolbar to enter the report printing dialog box, select the searched experiment, search items and search contents as required, click the query, and then click the experiment to be printed in the query result box.
Header Settings Click the Header Settings button in the report printing dialog box to open the Print Header Settings dialog box and set the header of the printed report.
Print Settings Click the print settings button in the report printing dialog box to open the print settings box and set the output device for report printing.
View the detailed test results Double-click the test data in the query results to open the detailed test data records corresponding to the test results, and users can view and manually correct some of the data.
Print and Preview Click to preview and print the report of the test results.
Previous: On-site debugging by customers | The composite photographic inspection system is being tested on the ground.Next: Jinan force collar testing machine 150 tons electro-hydraulic servo horizontal tensile testing machine entered Jiangxi Construction Engineering Testing Station to complete on-site installation and debugging.
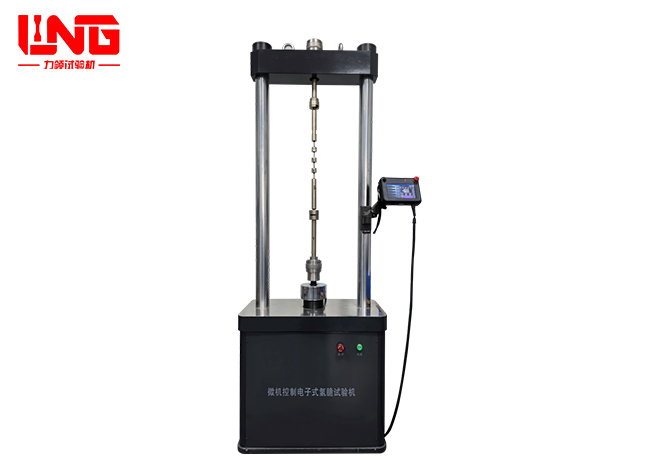
LQD-100 microcomputer controlled electronic durable hydrogen embrittlement tester
The LQD-100 microcomputer-controlled electronic endurance hy...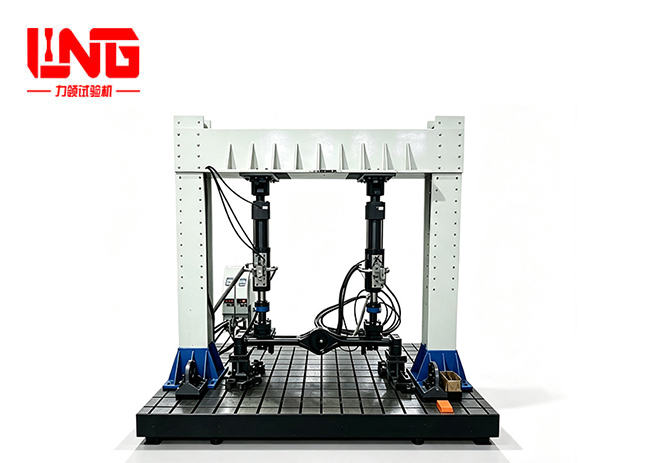
PQS-1000 two-channel axle housing fatigue testing machine
PQS-1000 two-channel axle housing fatigue testing machine is...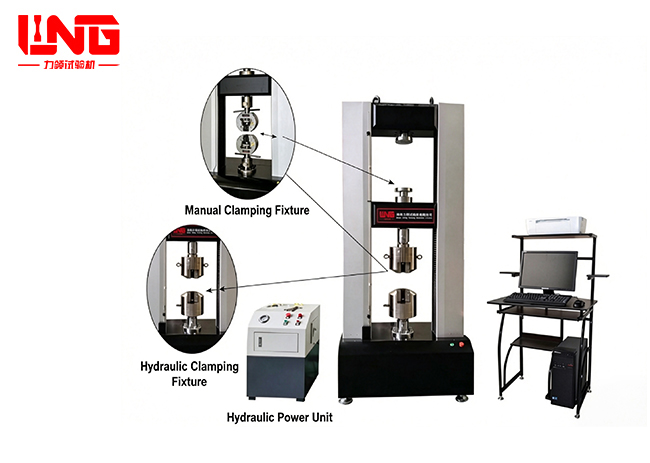
HDW-350H microcomputer-controlled electronic universal testing machine
HDW-350H microcomputer-controlled electronic universal testi...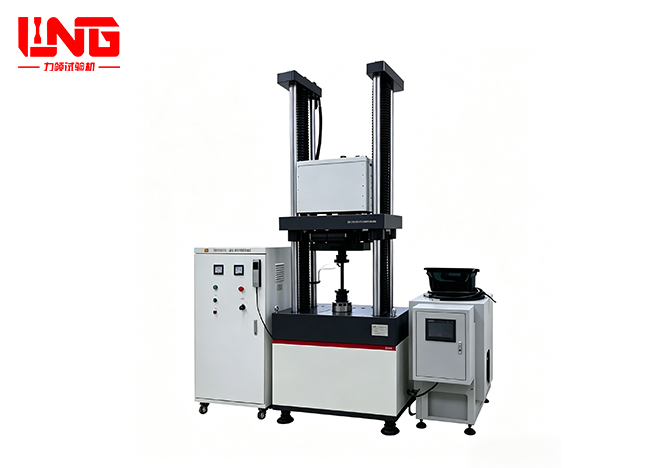
LGP-100 High frequency fatigue testing machine
LGP series high-frequency fatigue testing machine represents...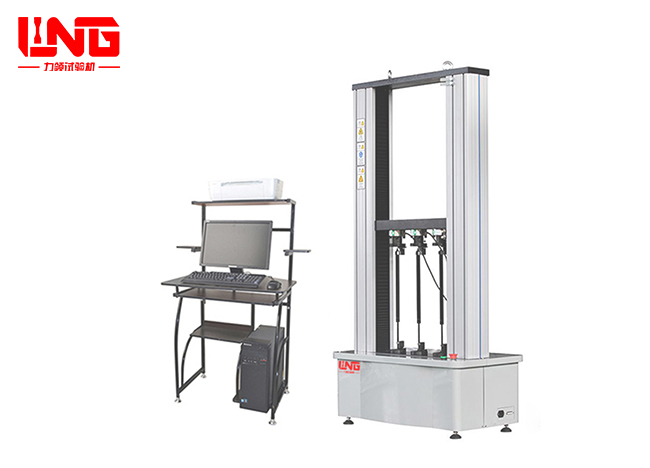
Microcomputer-controlled automobile air spring tension and compression testing machine
The air spring tension and compression tester is a high-perf...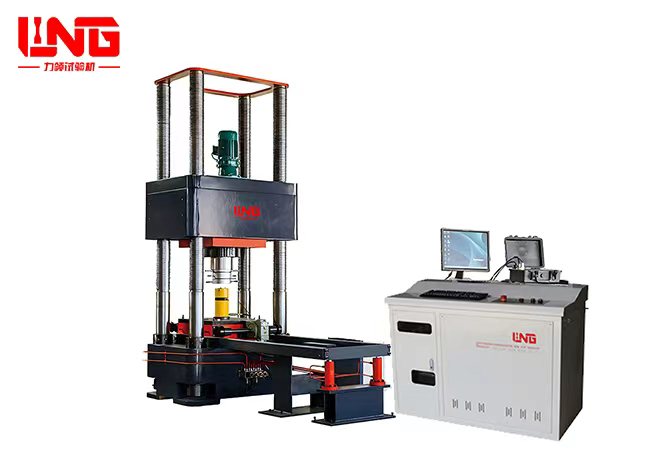
YAW-5000F Computer-controlled Electro-hydraulic Servo Jack Testing Machine
The YAW-5000F microcomputer controlled electro-hydraulic ser...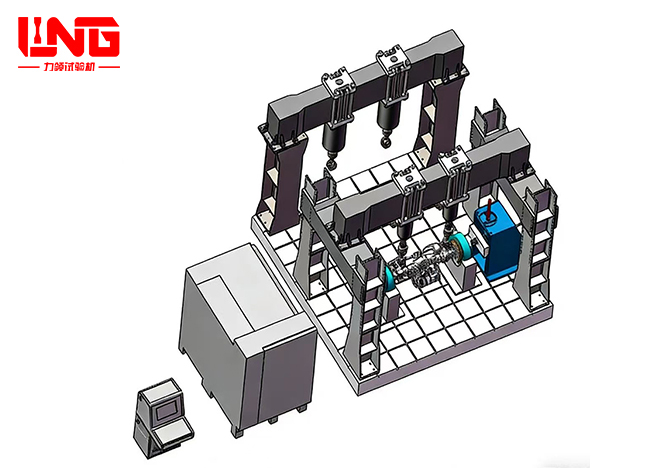
PWS-1000CQ comprehensive performance testing platform for drive axle housing
The comprehensive performance testing platform for the drive...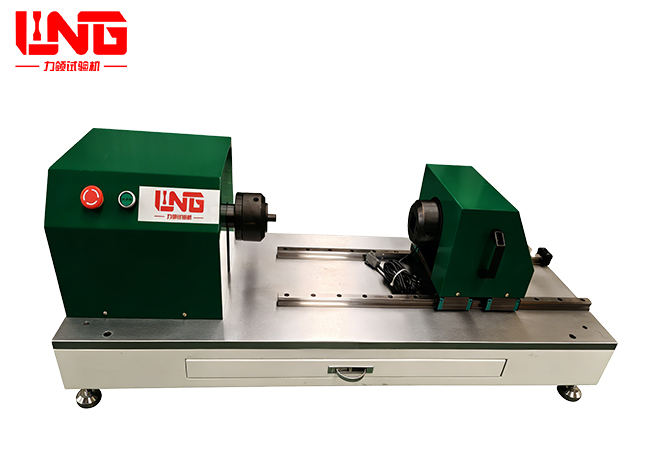
LNZ-W50Nm microcomputer controlled torsion testing machine
The microcomputer controlled torsion testing machine is main...
About LiLing
Product range
News
Contact LiLing
National Service Hotline:+86 18660398828
Address:Building 2, No. 6 Weihua West Road, Shizhong District, Jinan City, Shandong Province,China


Business consultation (WeChat)
Technical Support: ChaoYueHuLian
Links: